A newsletter template includes default sections to help you arrange your news and a custom image header, for branding (Tools only).
Step 1 – Click to expand ‘Settings’ on the left-hand navigation and click ‘Templates’.

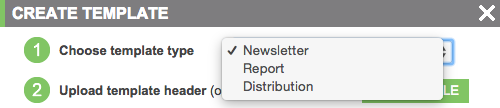
Step 2 – Click ‘Create new template’ in the grey bar at the bottom, then follow the steps in the ‘Create template’ overlay.

Choose template type – Choose ‘Newsletter’ from the drop down.
Upload template header – Click ‘Choose file’ to upload the image you want to appear.

Set default subject line for newsletter – Enter a subject line for your newsletter so you can tell which one it is when you need to use it.

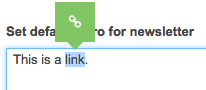
Set default intro for newsletter – Enter the intro text that will be added to the top of your newsletters.

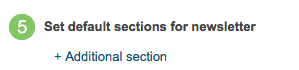
Set default sections for newsletter – Click ‘+ Additional section’ and enter the name of the first section you want in your newsletter. Repeat to add all the sections you want in your newsletter.
Step 3 – Click ‘Create’ to save your newsletter template.
You must be logged in to post a comment.